
How to Hike Inside the Grand Canyon in One Day
Last updated:
Hiking the Grand Canyon rim to river and back to rim is a physically demanding feat that requires a high level of fitness and preparation. Here is a guide containing everything you need to know to to help you plan your hike.
Overview
Hiking down into the Grand Canyon is the best way to fully appreciate one of the most famous and well-known natural wonders in the world. As you descend the trail, you will pass towering cliffs and colorful rock formations and have the chance to learn about the canyon's distinctive ecosystems and geological past. An adventurous journey that is both difficult and rewarding is made possible by the depth of the canyon, the varied terrain, and the diverse flora and fauna.
Essential Information
Permits: Overnight hiking in Grand Canyon National Park requires a permit.
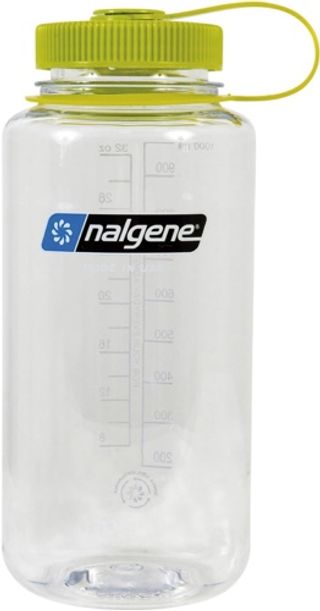
Equipment: Hiking gear, sturdy shoes, plenty of water, sun protection, first aid kit.
Route planning: Choose a trail suitable for your skill level, plan for sufficient time to reach your destination, and consider the weather.
Map and navigation: Study the map and bring a compass or GPS device.
Food and hydration: Pack sufficient food, water and electrolyte replacement.
Emergency plans: Let someone know your itinerary, bring a communication device.
Respect park regulations and protect the environment: Follow Leave No Trace principles, don't feed wildlife, dispose of waste properly.
Grand Canyon Hiking Trail Map
When I did this hike, we started from Bright Angel Trailhead, hiked down to Plateau Point, further down to Phantom Ranch, and then back up to South Kaibab Trailhead. We completed the entire route (over 26 miles) in one day. This is extremely physically demanding, so you need a good understanding of your physical ability before attempting (check out my video above 🙂) However, you do have the option to spend the night at the bottom of the canyon which could make the journey easier and provide an excellent sunrise from the bottom.
Learn how to download the map for your own offline use by reading how I navigate on the trail .
Itinerary
Brief Itinerary
| Phase | Itinerary | Details |
|---|---|---|
Phase 11 | Spend the night on the Rim | 02124m |
Phase 22 | Bright Angle Trailhead to Plateau Point | 11km1150m |
Phase 33 | Plateau Point to Phantom Ranch | 12km775m |
Phase 44 | Spend the Night at the Bottom (Optional) | 0775m |
Phase 55 | Phantom Ranch to South Kaibab Trailhead | 17km2124m |
Phase 66 | Enjoy what you've accomplished | 02124m |
Detailed Itinerary
Phase 1: Spend the night on the Rim
Distance: 0 km
Highest Elevation: 2124 km
You'll want to start this hike early, to avoid possible crowds and also to give yourself extra time if you're doing this hike in one day. We stayed at Mather Campground, which I can recommend because it is cheap and easy to access the rim. Each campsite has a picnic table, fire ring, and bear box. The campground has flush toilets, as well as a few coin-operated showers. There are water spigots located within the campground. It is also located within walking distance of Grand Canyon Village, where you will find a variety of amenities, such as a general store, restaurants, and a post office. It's a great base for starting your hike from the South Rim of the Grand Canyon.
Phase 2: Bright Angle Trailhead to Plateau Point
Distance: 11 km
Highest Elevation: 1150 km
You can descend to Plateau Point on the well-maintained Bright Angel Trail, which includes many many switchbacks. The hike is rated as moderately difficult and takes about 4-5 hours one way. Keep hydrated by taking frequent breaks and drinking water.
Phase 3: Plateau Point to Phantom Ranch
Distance: 12 km
Highest Elevation: 775 km
From Plateau Point, take the Bright Angel Trail south to Phantom Ranch, which is near the Colorado River at the bottom of the canyon. Make sure you are prepared for the extra effort because this part of the trail is steeper and more difficult. From Plateau Point, it takes 1-2 hours to get to Phantom Ranch. Once you reach Phantom Ranch, take a break to rest, hydrate, and refuel. You can also refill your water bottles at the ranch if needed.
Phase 4: Spend the Night at the Bottom (Optional)
Distance: 0 km
Highest Elevation: 775 km
You can choose to stay at Phantom Ranch, the only hotel inside the canyon, camp at the nearby Bright Angel Campground, or at designated backcountry campsites. Only specific campsites along the river are available for backcountry camping, which calls for a permit. Phantom Ranch provides meals, dormitory-style lodging, and rustic cabins; however, reservations must be made well in advance due to high demand. Tent camping is available at Bright Angel Campground along with access to restrooms, running water, and a ranger station. Both camping and Phantom Ranch are interesting options with breathtaking views, but Phantom Ranch may be preferred by those looking for more conveniences and amenities. No matter what, all overnight visitors need to be ready for the harsh surroundings and low temperatures.
Phase 5: Phantom Ranch to South Kaibab Trailhead
Distance: 17 km
Highest Elevation: 2124 km
You can return to the rim by either taking the Bright Angel Trail or the South Kaibab Trail. The South Kaibab Trail is a more direct but steeper route back up to the rim, while the Bright Angel Trail is longer but less strenuous. Depending on the trail you choose, you can get to the rim from Phantom Ranch in 4-5 hours.
Phase 6: Enjoy what you've accomplished
Distance: 0 km
Highest Elevation: 2124 km
You've finished! Celebrate your success and give your feet a break before boarding the shuttle back to Mather Campground, or extending your walk like we did :) Grand Canyon Village is home to a number of eateries and bars that serve a wide selection of meals and beverages. Before returning to camp for dinner, we picked up some craft beer and a ton of snacks from the Grand Canyon Village Market & Deli.
Weather and Seasons
The best season to hike to the bottom of the Grand Canyon depends on personal preference and physical ability. However, many people consider spring (March to May) to be the best time to hike due to milder temperatures and less crowded trails.
Spring
March to May
Mild temperatures with occasional rain
Best For:
Day hikes
Wildflowers
Photography
Autumn
September to November
Cool and dry with clear skies
Best For:
Hiking
Camping
Views
Summer
June to August
Very hot with afternoon thunderstorms
Best For:
Early starts
Short hikes
Winter
December to February
Cold with snow and ice on trails
Best For:
Experts
Snow hiking
Recommended Gear
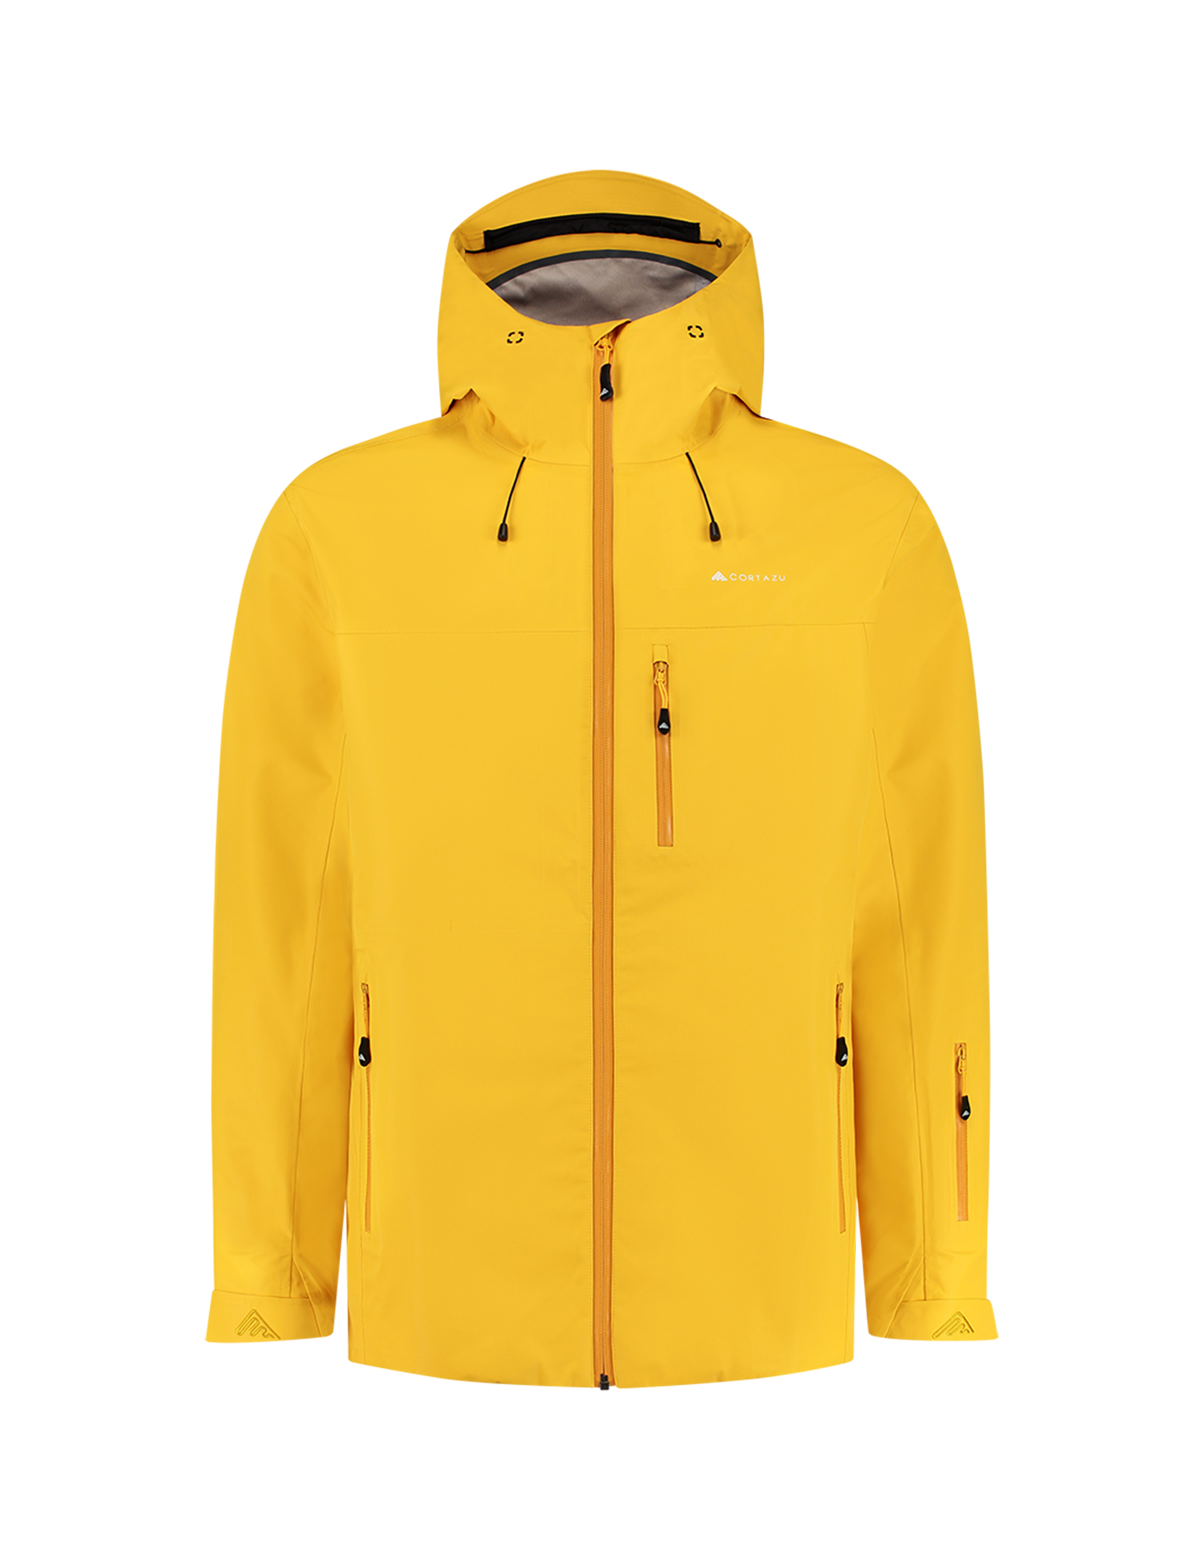
Embarking on a one-day hike down and up the Grand Canyon demands careful consideration of essential gear to ensure a safe and enjoyable experience. Begin with sturdy and comfortable hiking boots, providing ample ankle support for the rugged terrain. Opt for moisture-wicking clothing to manage perspiration, and layer accordingly to accommodate temperature fluctuations within the canyon. A well-fitted backpack should carry essentials such as a refillable water reservoir, high-energy snacks, a first aid kit, a trail map, and a lightweight but durable rain jacket. Sun protection, including a wide-brimmed hat and sunscreen, is paramount due to the canyon's exposure to intense sunlight. Trekking poles offer stability on uneven paths and reduce the impact on joints during the descent.


The provided gear list is a suggestion, tailor it to your needs. Prioritize safety by packing and preparing well for a happy, adventurous hike. Interested in all of my gear recommendations? Explore all gear to see what I recommend for filming, travel, and fun :)
You Might Also Like


Safety Disclosure: This travel guide is intended for educational purposes only. Readers are urged to conduct their due diligence, verify current conditions, and research the most recent information independently. Conditions along trails and relevant details may change, necessitating the confirmation of accurate and updated information from reliable sources or local authorities before undertaking any travel or outdoor activities.
Affiliate Disclosure: This travel guide contains affiliate links, which means I may earn a commission for purchases made through these links at no cost to you. Your support helps sustain the creation of more content.

Comments